Hi everyone! It’s been quite sometime since I wrote my blog. I got busy mastering the process of creating Facebook Ads up to the output. I want to make it right before this month ends. And luckily, today I make it right. That is why I was not able to update my blog . But still, I will share to you my experiences, so that you will also learn from me.
Signup form is needed in creating Facebook Ads. It is one of the most important components. Through the signup form you get email addresses from those people who click your form. And the most important part of marketing in the internet is to have email addresses! Yes! email addresses because you can send emails telling to them about how good is your product or services or telling them promises about having these products or services. You can communicate them from time to time to give updates that will later stimulate or invite them to buy for good! And when they buy, you have sales! Having sales is the best part because you have cash in!
Anyway, creating signup forms is one of the thing I enjoyed here. Did you know that when you enjoy making it, you feel happy and satisfied, right? So let us begin rolling the drum!
Go to www.benchmarkemail.com and open a free account.
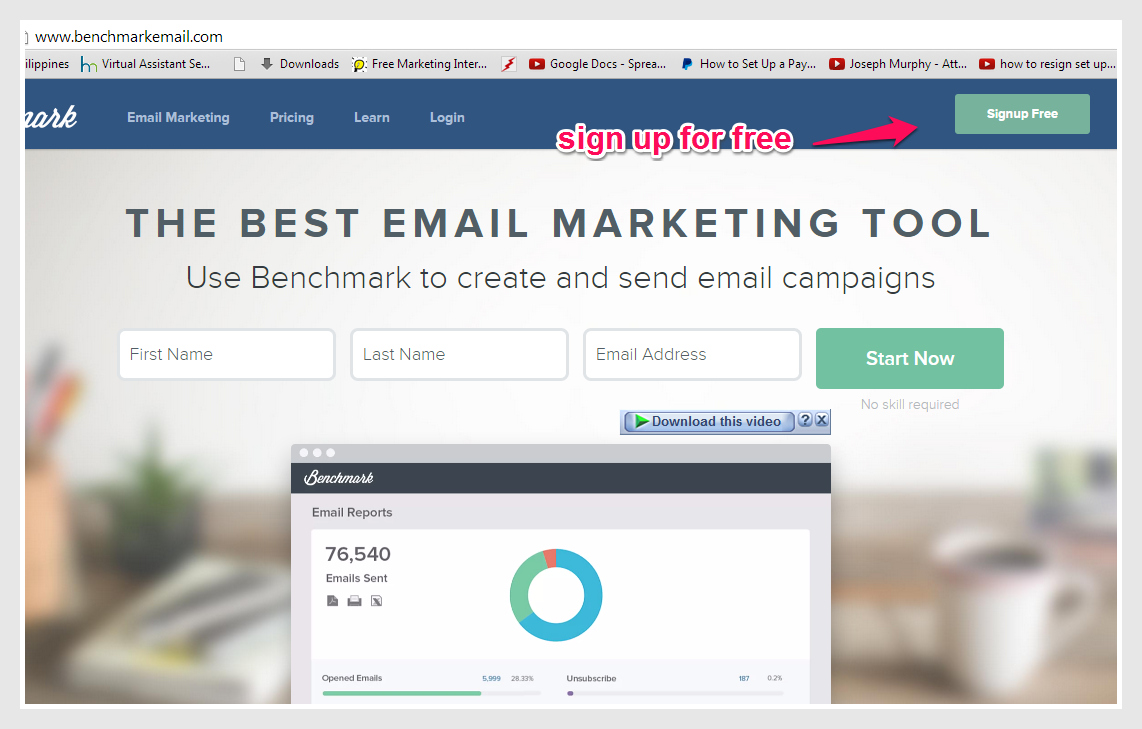
For detailed set up of services regarding the use of benchmarkemail, watch the video tutorials for guidance.
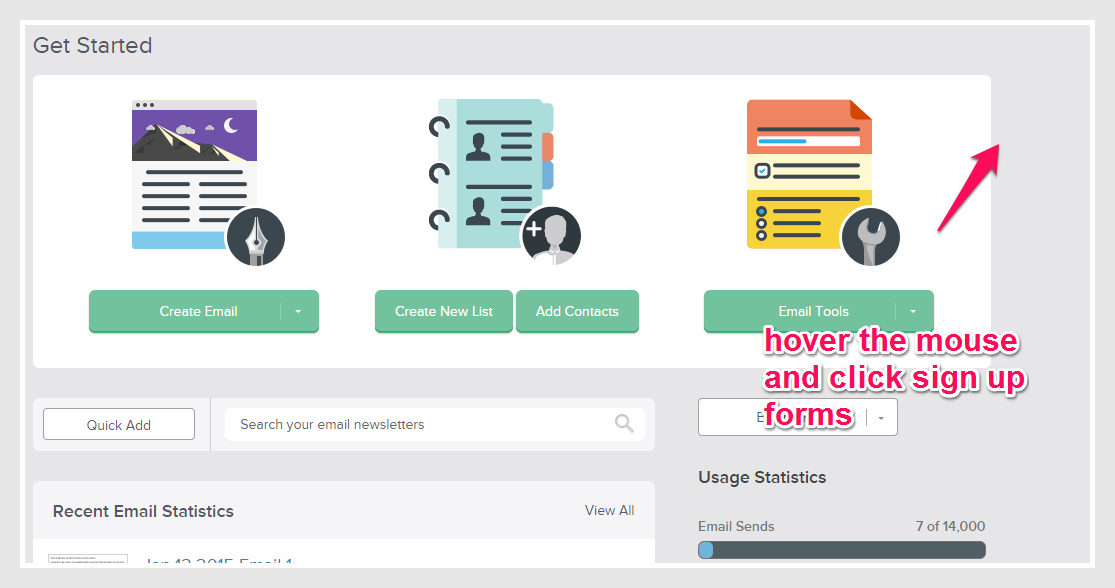
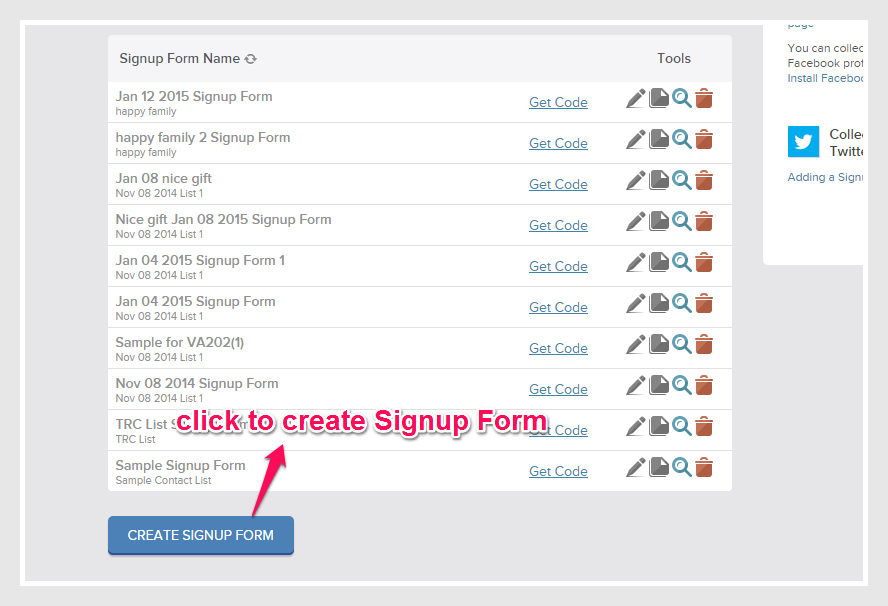
To create Sign Up forms, hover over the mouse on Email Tools and click “Signup Forms.”
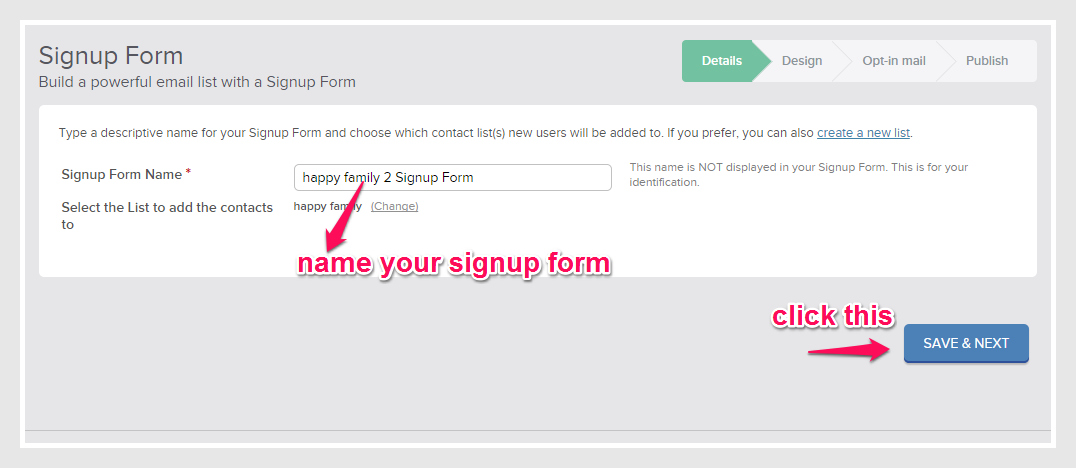
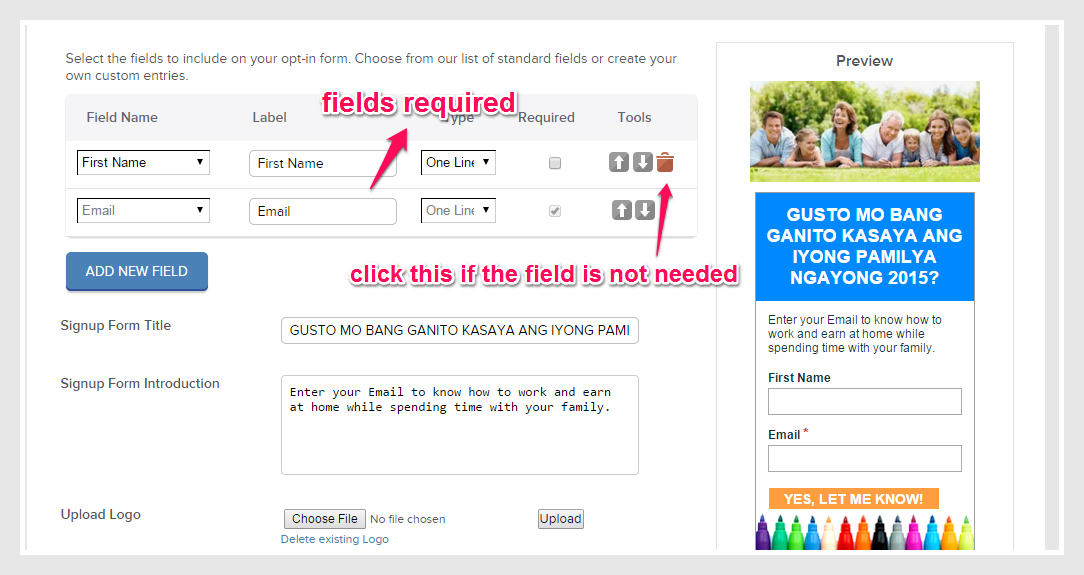
Create a name for your signup form but this is not reflected when you create. It is just an identification for you to remember. Like this one.
Choose the design of your signup form by clicking it. The preview of the signup form is seen on the right side. Remember also that two things are needed in the signup form, the first name and the email address. If the field name is not important, you can delete it using the “Trash” icon. Fill up the signup form title and description.

Upload image supporting the promise and type the button text.
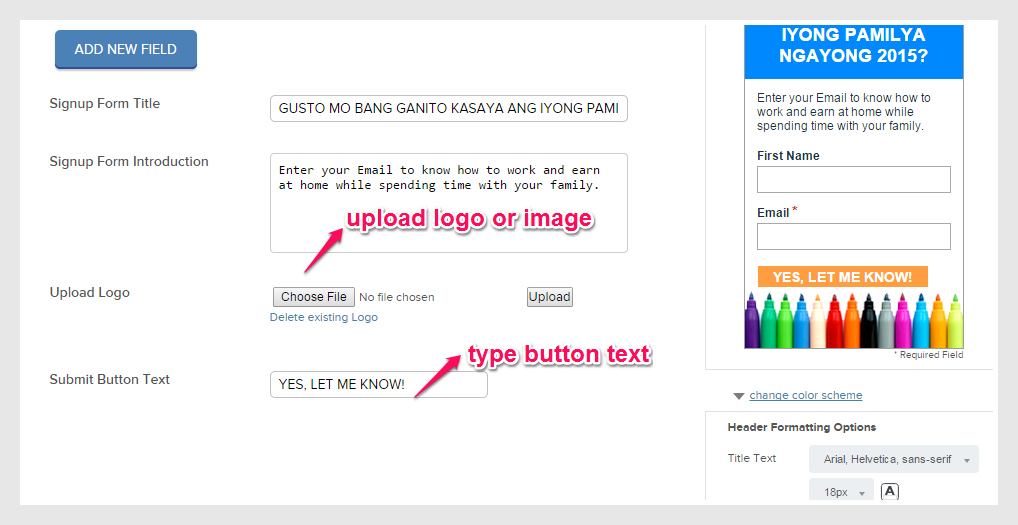
In signup form, it is also important to show your promise and image that supports the promise. And one thing, consistency is important. If you show the promise, make it consistent including the image that supports the promise.
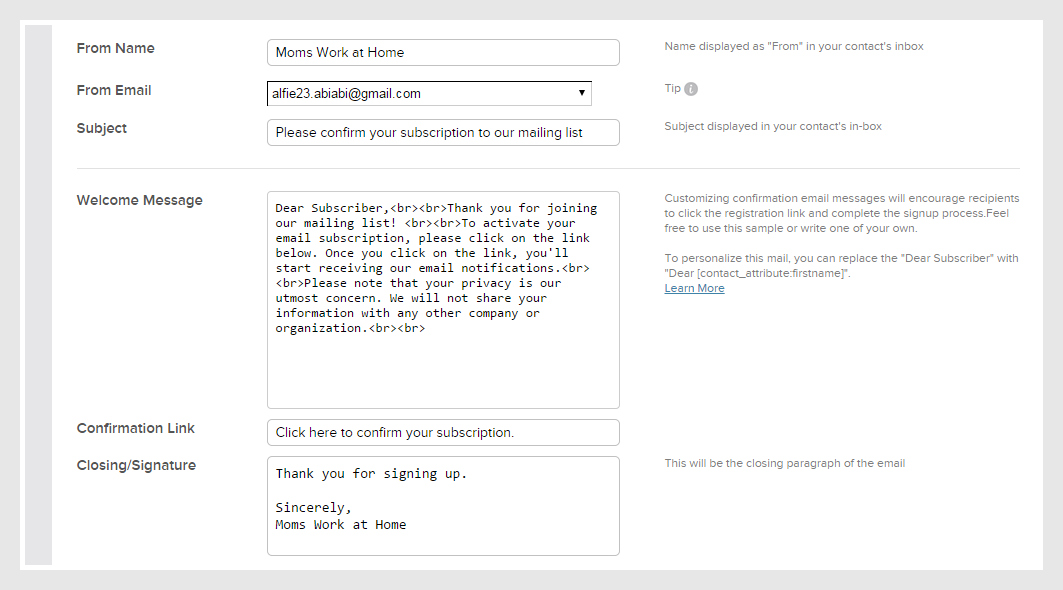
The next step is to customize the confirmation email. See below for example.
Below you can see the confirmation settings. You need to paste the affiliate link under Custom “Thank You” page so that when they click the button of your signup form, they will be directed to the website you want them to see. Paste also the url address of your Thank You page website.
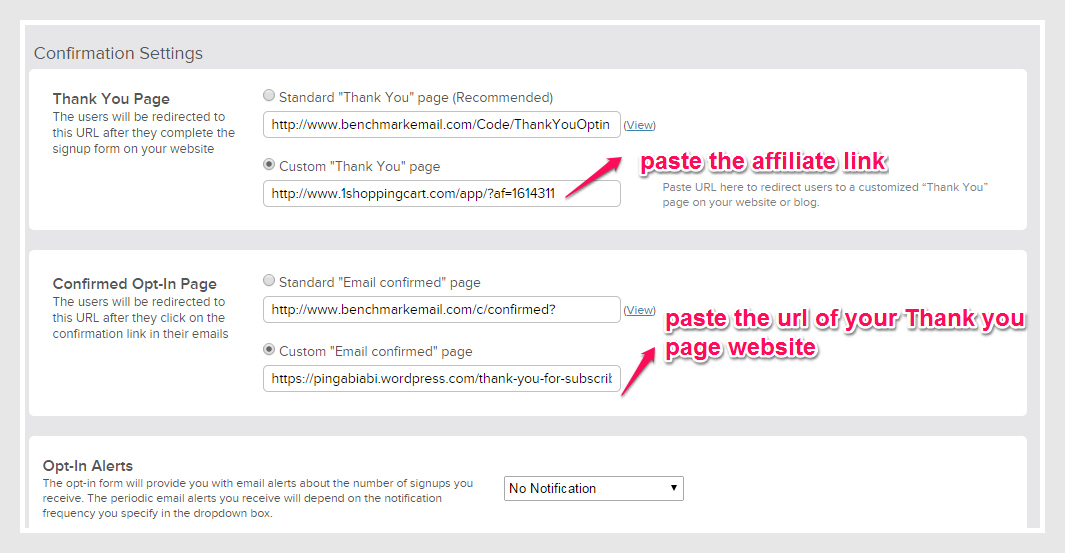
This means that when they received email for confirming the subscription and they click it, they will see the Thank You page of your website. This page is also important because you will paste here the Facebook code pixel which serve as guide to see the number of clicks or people who click and enter their details like email addresses. I will show to you on my next post on how to create “Thank You” page in your website.
After the details, the signup form text code is given. You copy and paste this code to your website.
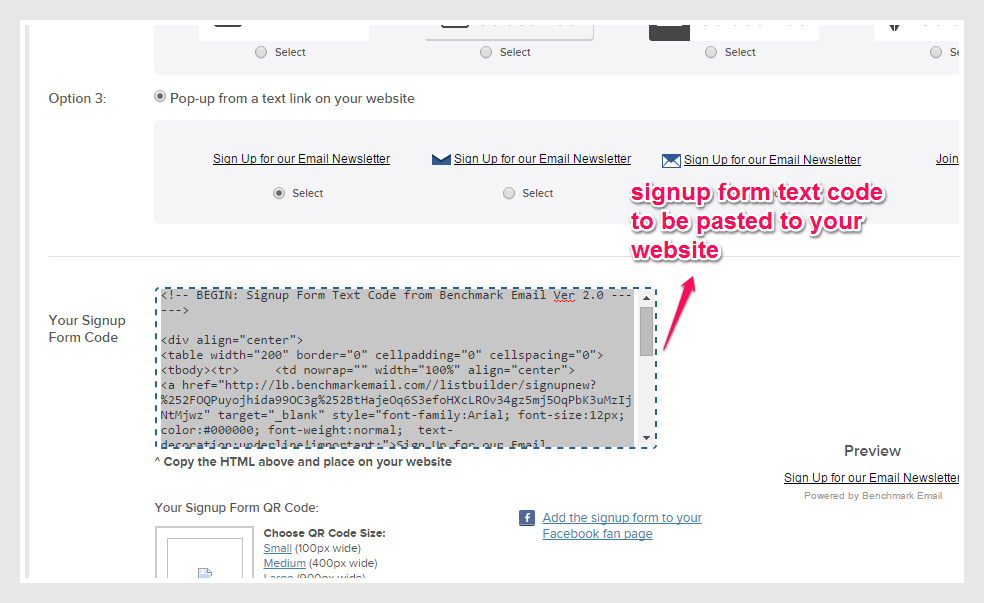
I will also show to you how I made my signup form page in my website on my later blog post.
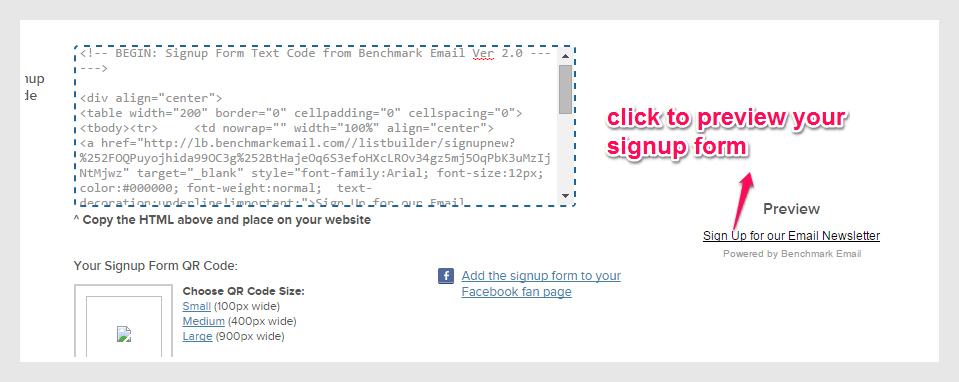
Then after pasting the code in your website, the next thing to do is to preview your signup form by clicking “Preview.”
Above the signup form, you can see the url. You copy and paste the url above the signup form to your Facebook ads “Creative” later that I will show on my post.
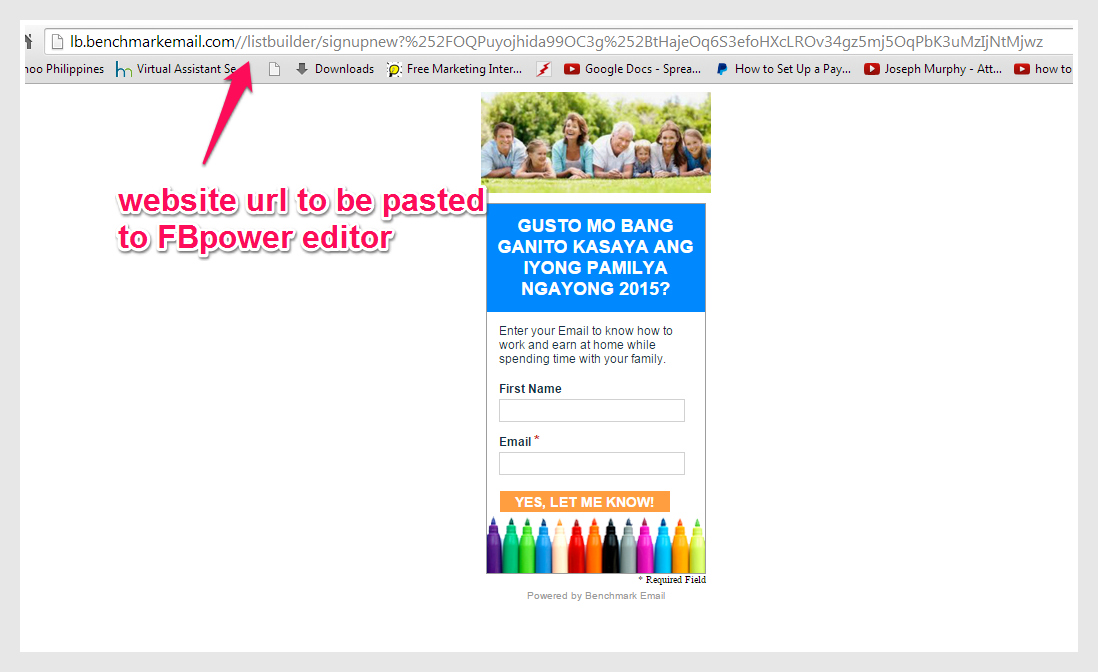
So, remember this: you paste the affiliate link and “thank you” page url in the confirmation settings, you see the signup form from preview and you copy and paste the website url of your signup form to your Facebook ads Power Editor. Check! Now ready to show the Signup form pasted in your website.
