Hi there!
The next thing we will do is to create our “Thank You” page. It is just easy as one, two, three!
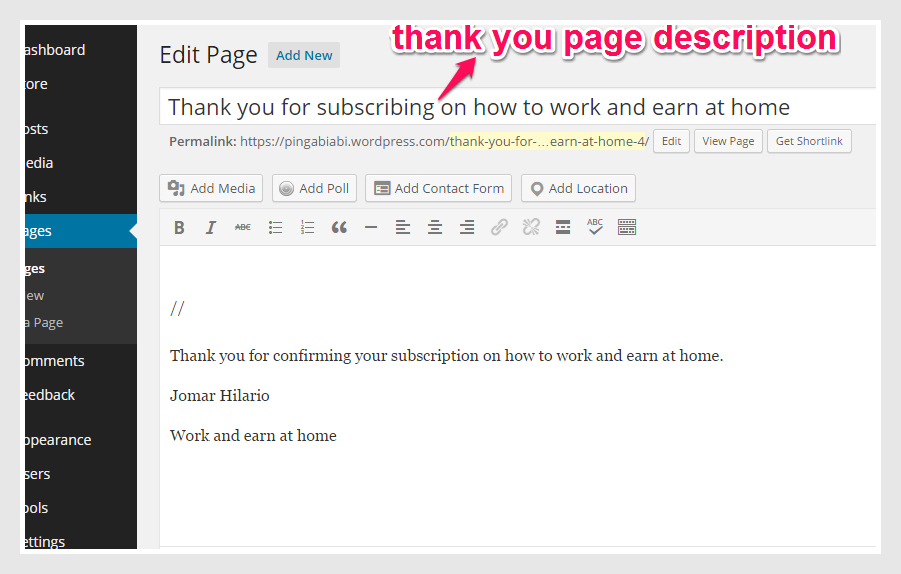
First, If you are using your website or blog site for your “thank you” page, just go to your “Dashboard” and click “Pages”, “Add New.” Then type the description of your “thank you” page like the one below:
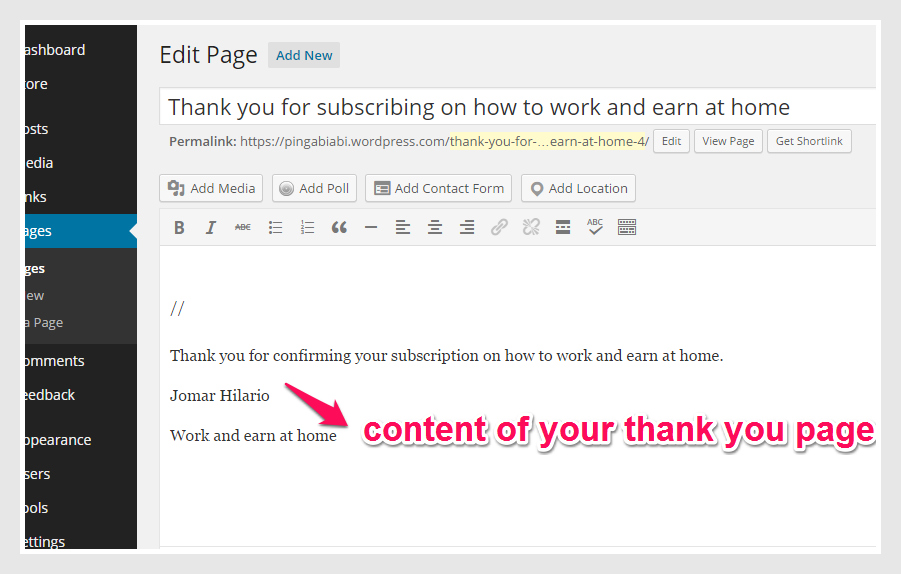
Second, you can type a content to your “thank you” page like the one below:
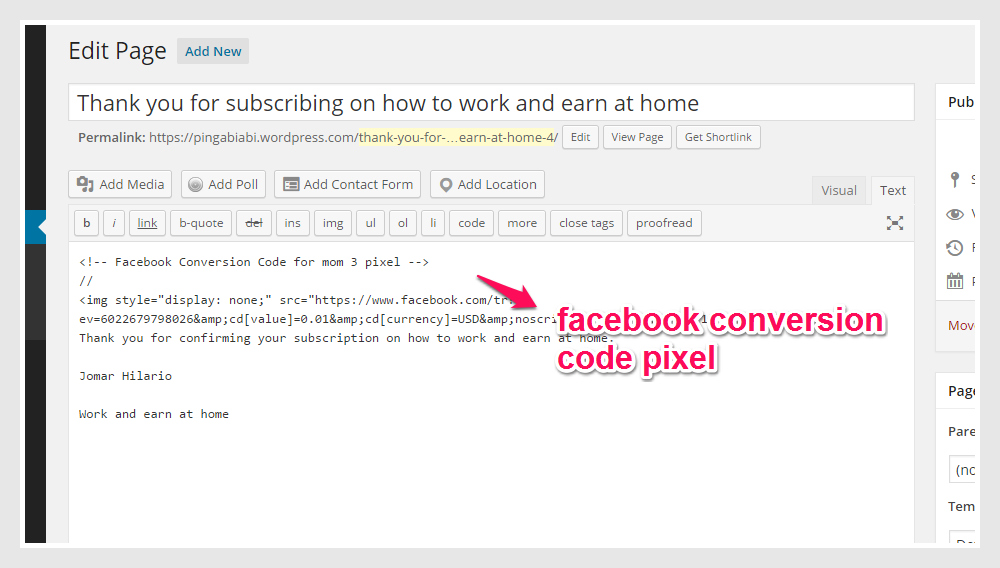
Third, the Facebook conversion code pixel will be pasted once you are done with your Facebook Ads in Power Editor. You just copy and paste the pixel in your “thank you” page under “Text” portion. The purpose of the pixel is to count the number of people who confirmed the subscription upon clicking it in their email. This procedure is usually the last one after creating the Facebook Ads.
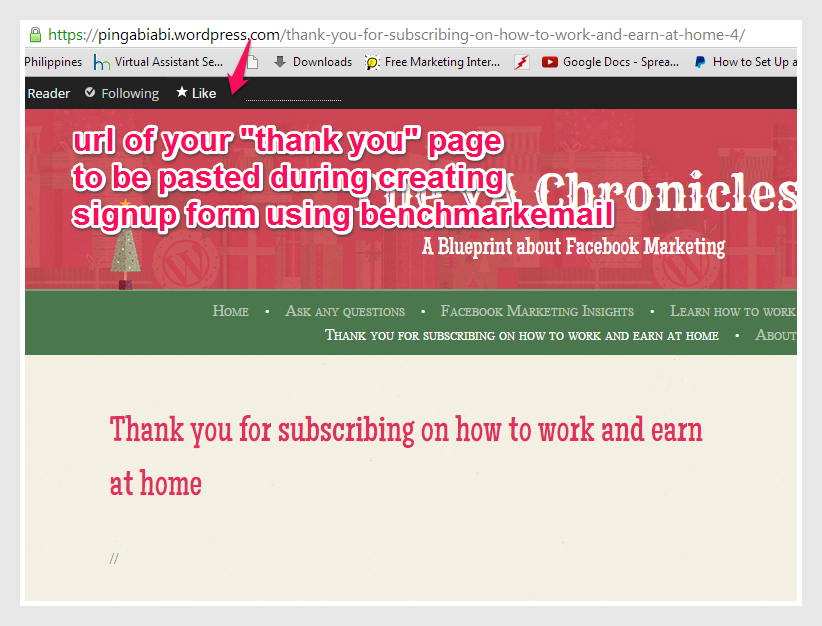
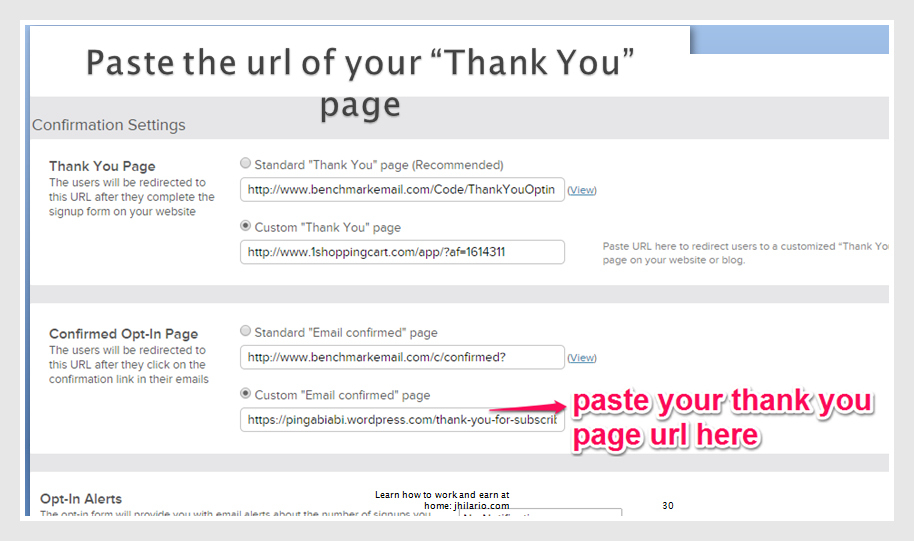
Fourth, the url of your “Thank you” page will be pasted during creating your signup form using benchmarkemail.com.
Remember the affiliate link to be pasted? The one below after pasting the affiliate link.
When your Facebook Ads is already running and they click on the signup form and open their email and finally confirmed the subscription, they will receive a “Thank you” page like the one below:

See, it is easy right? Well have a practice and I am very sure you will make it right for the first time.:-)
